Porting XiangShan to the Xilinx U55C FPGA
I recently ported the XiangShan RISC-V CPU core to the Xilinx Alveo U55C FPGA. This post outlines the key steps, practical tips, and workarounds that go beyond the official documentation—especially helpful for those transitioning from ASIC/simulation workflows to FPGA-based development.
Getting Started with FPGAs
If you’re new to FPGAs (as I was), setting up a complete system can be confusing.
FPGA Basics
Unlike simulation or ASIC environments, FPGAs require you to manually generate external signals like clock and reset. These are mapped to physical pins via XDC constraint files, and you can find U55C-specific examples in Xilinx’s documentation. Board files also provide crucial clock configuration info.
Block Design and IP Cores
Vivado’s Block Design feature makes it easy to wire up your system using drag-and-drop IP cores. For this project, I used:
- XDMA IP for PCIe communication
- HBM IP for high-bandwidth memory
- AXI Interconnects to route memory accesses
A reference project that includes many of these elements is available on GitHub. I found its host software too complex and used this simpler XDMA host tool instead. If you’re running a recent kernel on your host machine, you may also need to update the Xilinx DMA driver.
Project Design: Running XiangShan on FPGA
Choosing the Right Branch
I used the kunminghu branch of XiangShan (third-gen), which is more FPGA-friendly than nanhu due to area optimizations. Avoid the master branch—it includes vector extensions that increase resource usage.
UltraRAM and Simulation Code
- Modify
array_XX_ext.vfiles to include UltraRAM annotations for large memory arrays. - Guard simulation-only code with
ifndef SYNTHESISand make sure the macro is defined in Vivado to avoid DPI-C related synthesis errors.
AXI Interfaces and Reset Vector
XiangShan exposes three AXI ports:
- mem → connect to HBM
- peripheral → connect to UART
- dma → unused (only required for dma cache coherence)
Set the reset vector (io_riscv_rst_vec_0) to 0x80000000, pointing directly to HBM. This avoids needing flash memory. Other signals like io_extIntrs, io_rtc_clock, and undocumented JTAG/SRAM config pins are either zeroed or ignored, following examples in Top.scala.
Full System Design
The block design of our system:
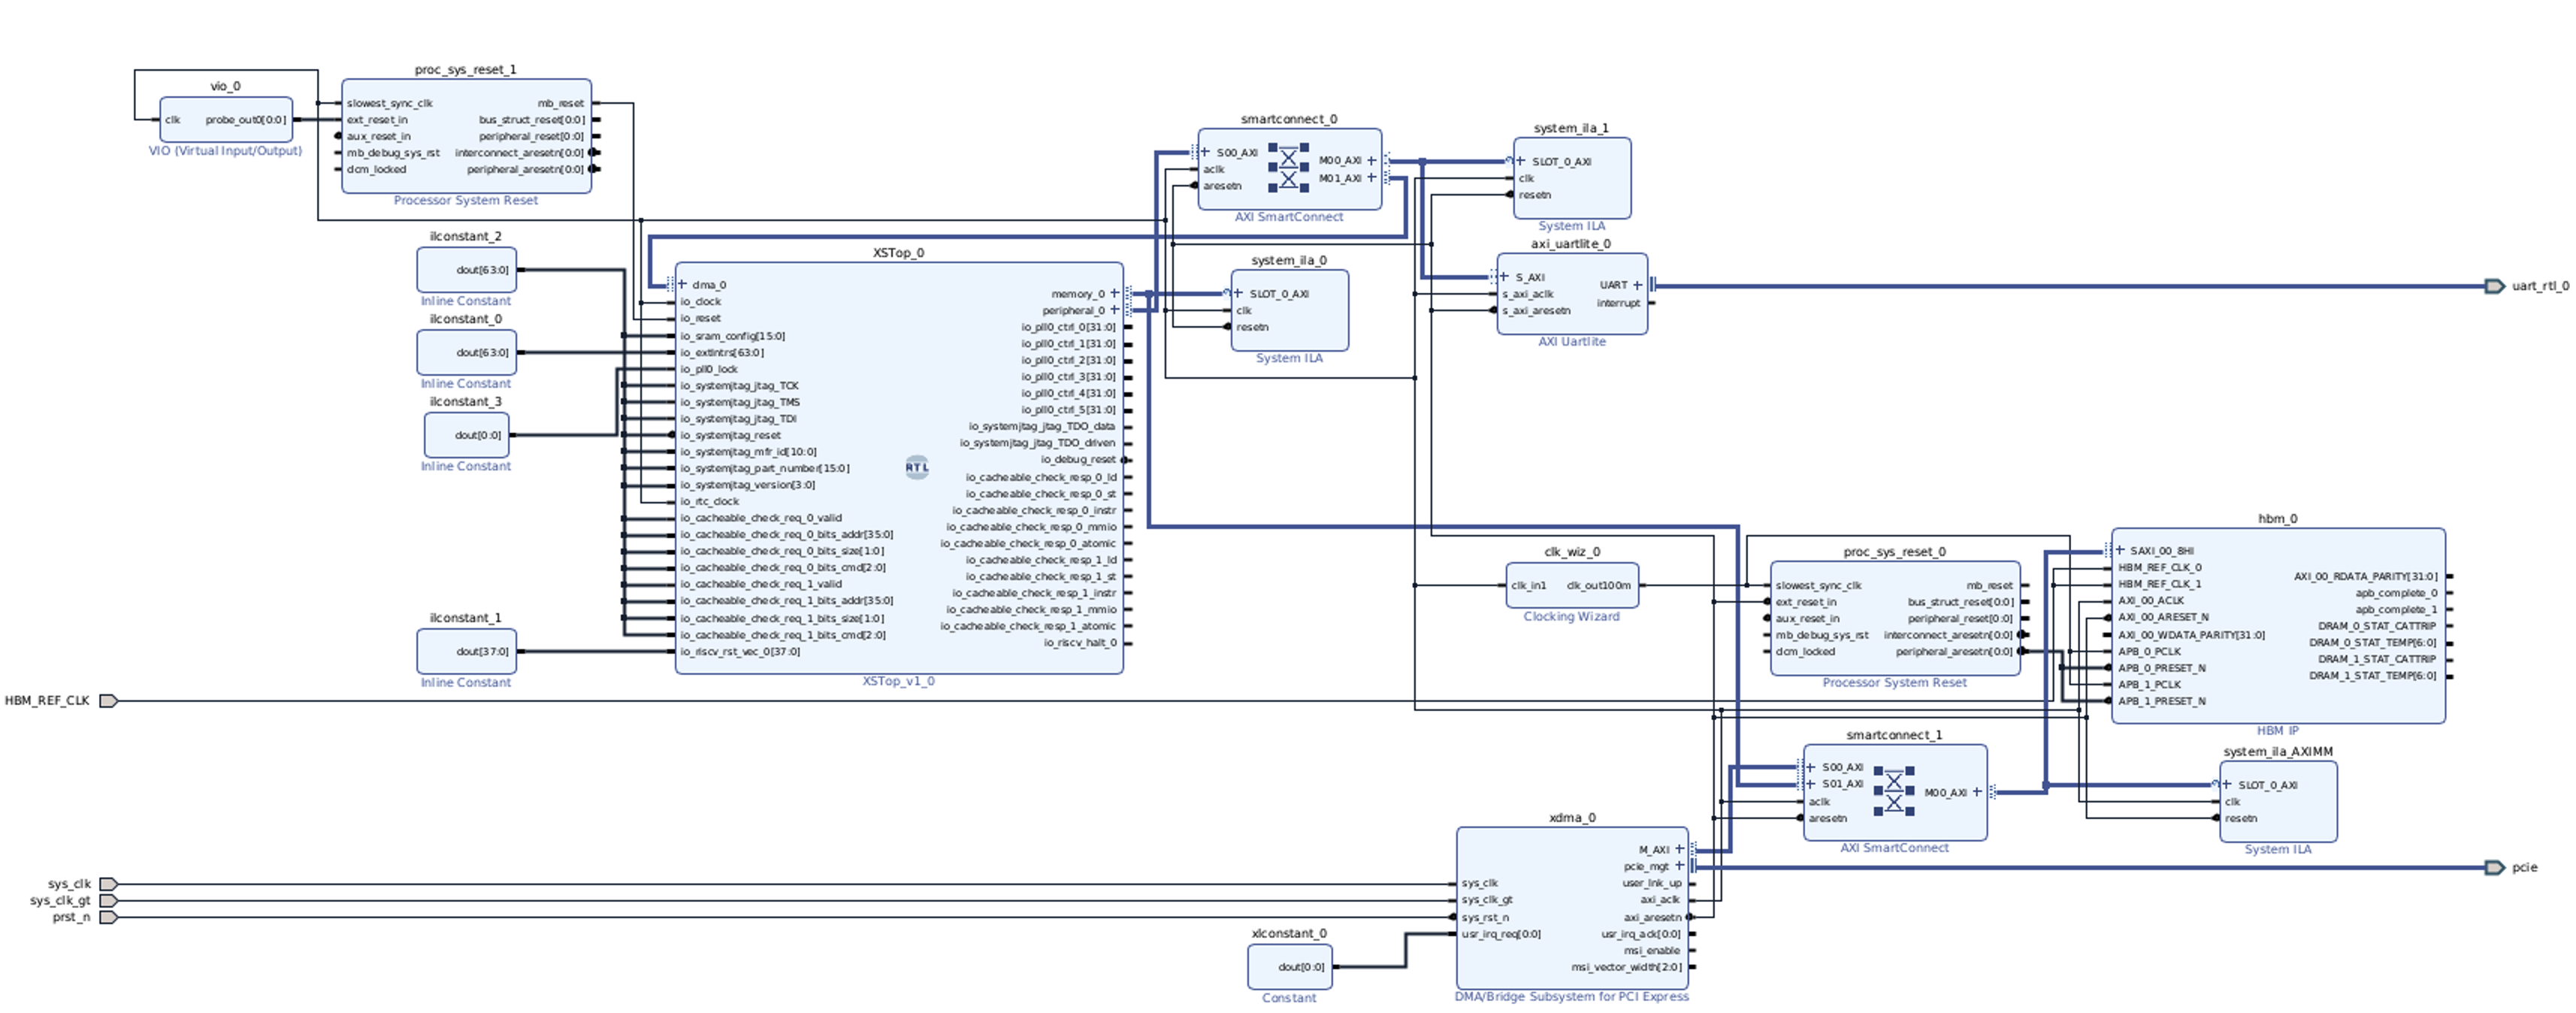
Connecting the Ports
We use AXI interconnects to connect:
- XiangShan memory port → HBM
- XDMA AXI master port → HBM
- Peripheral port → UART Lite
The XDMA port allows the host to upload binaries into memory via PCIe.
Reset Strategy
A reliable reset sequence is critical. We use two Processor System Reset IPs:
- For XiangShan: Controlled manually via Virtual IO.
- For system components: Driven by the XDMA reset port.
We also reconfigure the XDMA clock to 125MHz to meet timing.
Running Programs
Once the bitstream is flashed (via micro-USB), load your binary into HBM:
sudo ./xdma_rw -w -d /dev/xdma0_h2c_0 -f ./linux.bin -s 7552420 -c 1 -a 0x80000000
where 7552420 is the size of the file and 0x80000000 is the destination address.
Then release the CPU from reset via Vivado’s Hardware Manager. Monitor UART output on /dev/ttyUSBX.
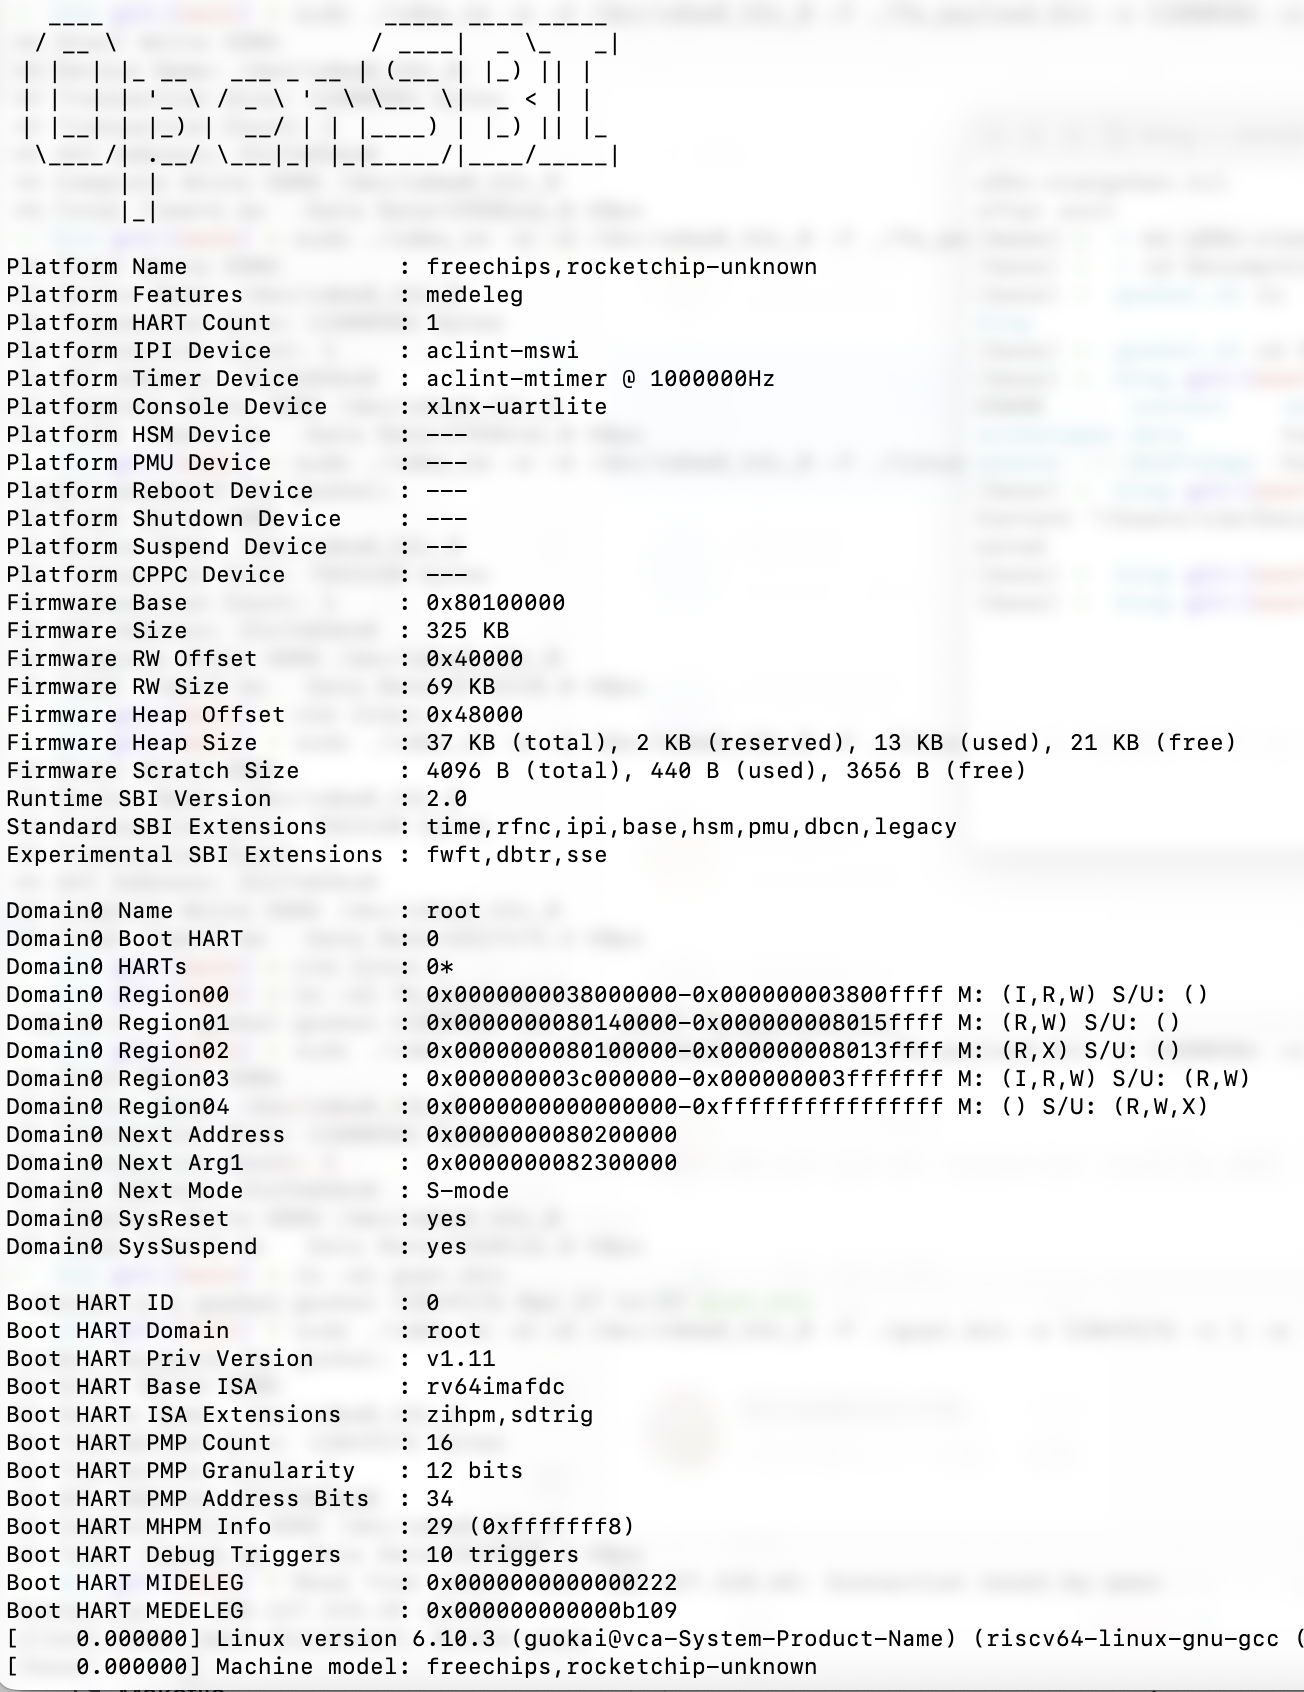
Linux Boot and JTAG Fix
Bare-metal binaries (e.g., from nexus-am) work fine. Linux kernels, however, hang because OpenSBI tries to detect a JTAG module we didn’t implement.
To fix this, remove the JTAG probe line from OpenSBI. With this patch, Linux boots correctly on XiangShan:
Interactive Linux: Getting Around the Missing Storage
To test more than one program, we need a persistent Linux shell environment. Since the U55C lacks accessible external storage, we use main memory as a communication channel between the host and the running Linux system.
initrd + Busybox Shell
Bundle a minimal filesystem into an initrd. Use busybox as /init to launch a shell at boot. You can then upload programs from the host via DMA and load them into the running system.
The memloader Flow
- Host writes an ELF binary (with size prefix) to a fixed HBM address.
- A Linux utility (
memloader.elf) reads from this address and writes to/test.elf. - From the busybox shell, run the uploaded program:
./memloader.elf
./test.elf
Solving Practical Challenges
Issue 1: Physical Memory Access
Linux restricts user-space access to physical memory. We bypass this using /dev/mem + mmap.
Issue 2: Cache Coherency
HBM writes go through XDMA, but XiangShan’s L1 cache may hold stale data. Since Kunminghu v1 lacks cache instructions, we flush caches manually by reading a large dummy array before accessing memory.
Issue 3: Safe Memory Regions
To avoid memory collisions, we pick regions not covered in the device tree. Surprisingly, /dev/mem still gives us access to them.
Future Improvements
- Use PMAs to mark HBM as uncacheable.
- Use cache management instructions, available in newer Kunminghu versions.
- Implement the
dmaport, which supports coherent writes and could simplify image loading.